Replacing a submersible well pump: diagnosis first, then the job itself
A silent pump is the start of a diagnosis, not the end of one. This guide walks through how a technician proves the pump is really at fault, what pulling it from a deep bore involves, why the replacement is rarely the same model, and what a proper commissioning looks like.
October 26, 2026 · 11 min read
Most calls that begin with “the pump is dead” do not end with a new pump. The symptoms of a failed pump, no water or a trickle, are shared by a tripped controller, a lost pressure-vessel charge, a leaking check valve, a cable fault and a well whose level has simply dropped below the intake. Pulling a pump from sixty or eighty metres is half a day's work with a rig; pulling one that was fine is half a day wasted, and reinstalling it does nothing for the fault. So the replacement job starts above ground, with a sequence of checks that either clears the pump or justifies pulling it. If you are still at the stage of wondering whether something is wrong, our warning signs checklist comes first; this article is about what happens after the call.
First, prove the pump is actually at fault
The rule we work to is that the pump is pulled only when the evidence points down the hole and nowhere else. The checks run in order of cost: electrical supply and controls, then the tank and pressure system, then the water level, then the cable and motor. Each one can produce the same symptom as a dead pump, and each is cheaper to fix than a replacement. A word on safety: the first two stages involve live equipment at the control box and the panel. They are a technician's job. A homeowner can usefully note what the breaker did, what the controller's indicator lights show and when the water stopped, and should leave the box closed.
Electrical and control diagnosis
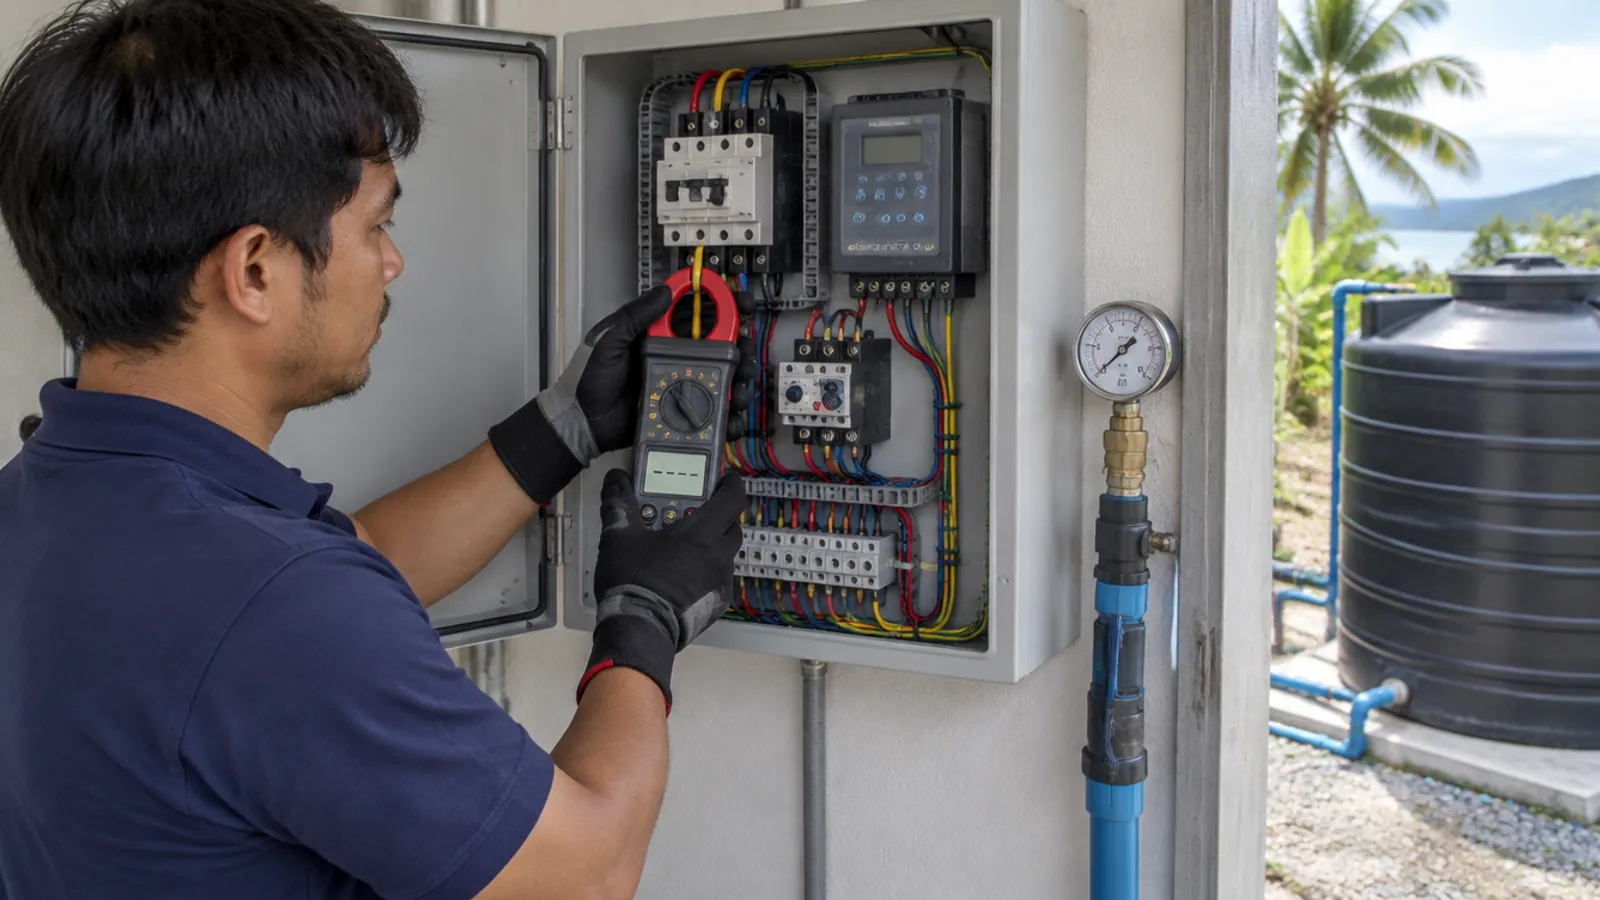
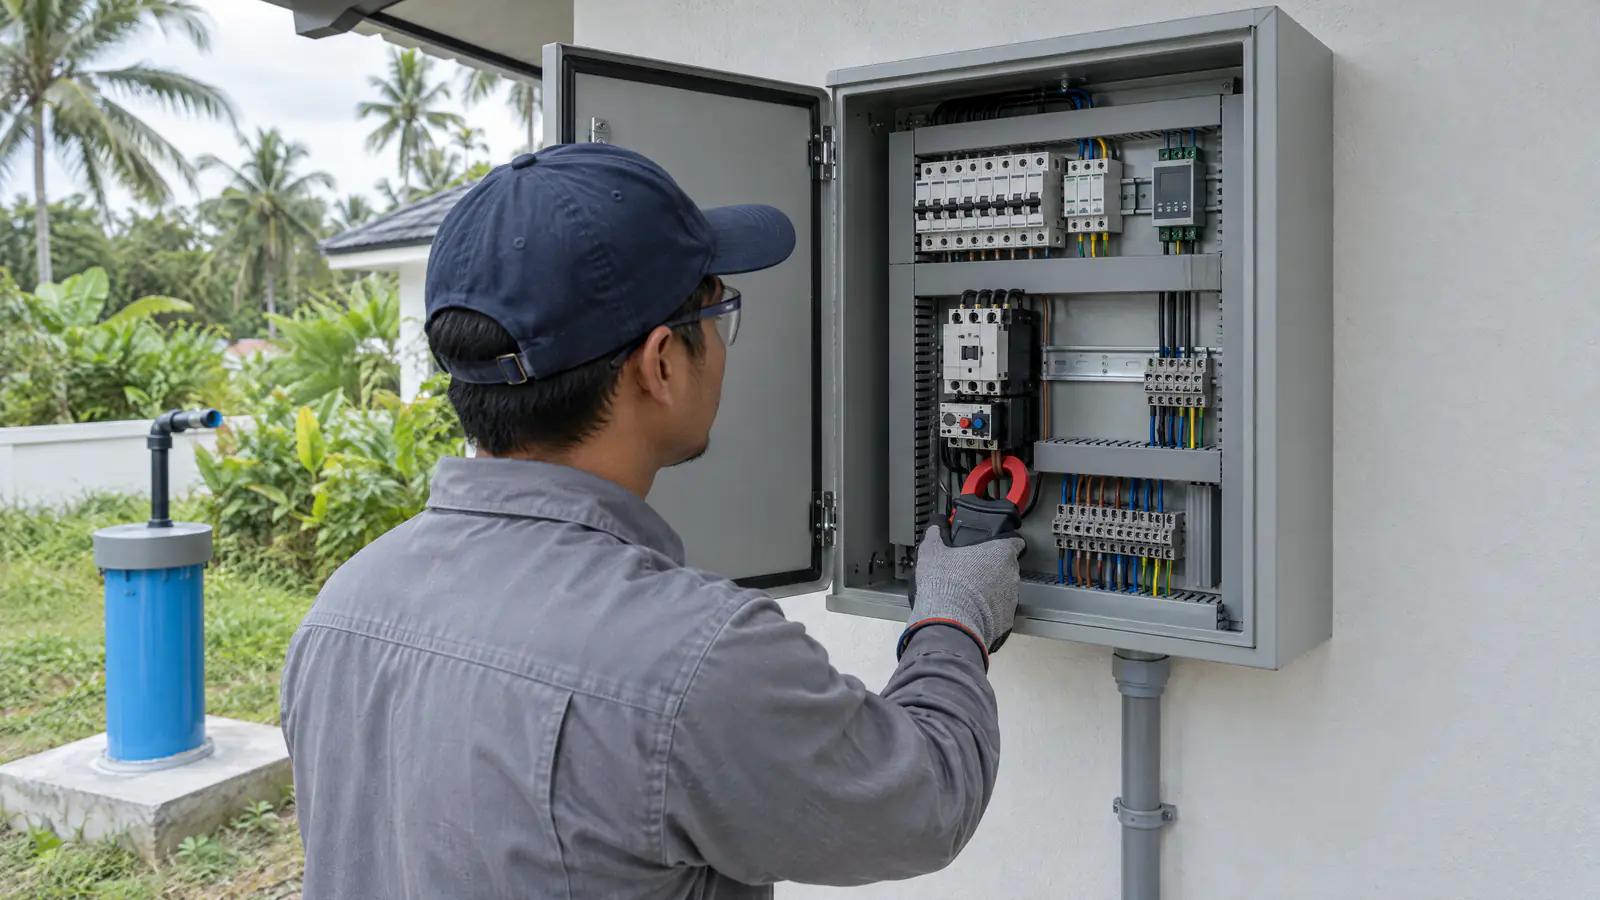
The technician starts at the panel: supply voltage present and within range, breaker and overload not tripped, and the history on any protection device that records dry-run or voltage events. On a single-phase pump with a separate control box the capacitor and relay are checked next, because a failed start capacitor produces a humming motor that trips the overload within seconds, which looks exactly like a seized pump. Then the cable and motor are tested from the wellhead with the power isolated: winding resistance of each lead against the manufacturer's figures, and insulation resistance to earth with a megger. Those two numbers are the heart of the diagnosis. Normal windings and high insulation resistance mean the motor and cable are almost certainly sound and the fault is elsewhere. A low insulation reading means water has reached a conductor, in the cable, the splice or the motor, and the string will have to come up.
Tank and pressure system
If the pump runs when it is told to, the next question is why the house is not seeing water. A pressure switch stuck or set wrong, a pressure vessel that has lost its air charge, a pump that cycles on and off every few seconds, or a check valve leaking back down the riser so the pump runs all night, all present as a pump problem. These are tank-side faults and are fixed at the tank. A pump that has been short-cycling for months may genuinely be worn by the time somebody looks, but the cycling is the fault to cure, or the new pump goes the same way.
Water level and yield
A pump that trips on dry-run protection, or delivers air and then water, is often a healthy pump in a well whose level has dropped to the intake. The technician measures the static level and then the level while pumping; if the drawdown reaches the pump, the fault is the well, the season or the pump's setting depth, not the motor. Our guides to well yield and seasonal groundwater cover why that happens. The remedy is to limit the flow, lower the pump, or treat the well; a new pump at the same depth and the same flow trips in exactly the same way. A record of dry-run events on the controller is the strongest clue here, and also tells you how many times the old pump has run dry, which matters for what you find when it comes up.
Cable, splice and motor
When the insulation test fails, the question is where. The cable may have chafed against the casing over years of starts, the splice between the motor lead and the drop cable may have let water in, or the motor itself may have failed. The test cannot always tell the three apart from the surface, which is one reason the string is pulled rather than guessed at. What it can tell is whether pulling is justified at all, and that is the decision the whole sequence builds up to.
Diagnostic sequence
No water or low flow: when is the pump really the fault?
The questions a technician works through before a pump is pulled, in the order they are checked. A pump comes out of the hole only when the answers point down it.
1
Is the fault in the power or controls?
Supply voltage, breaker and overload, start capacitor and relay, protection-device history.
If yes
Repair at the panel or control box. The pump stays where it is.
If no
Move to the tank and pressure system.
2
Is the fault in the tank or pressure system?
Pressure switch, vessel air charge, short cycling, a check valve leaking back down the riser.
If yes
Fix at the tank. Cure the cycling before any pump is replaced, or the next one wears the same way.
If no
Move to the water level.
3
Is the water level reaching the pump?
Static and pumping level measured; dry-run event history on the controller.
If yes
A well, season or setting-depth problem. Limit flow, lower the pump or treat the well; do not replace a pump that is only running dry.
If no
Move to the cable and motor.
4
Do the cable and motor tests fail?
Winding resistance per lead and insulation resistance to earth, from the wellhead with the power isolated.
If yes
Pulling is justified: water has reached a conductor in the cable, splice or motor.
If no
Go back over the controls and the tank before pulling anything; a sound motor and cable rarely cause no-water on their own.
5
Pull the string and inspect
Riser, cable, splice, check valve, intake screen and the pump itself come up together and are examined on the ground.
If yes
An external fault (splice, cable, blocked intake, stuck check valve) on a pump in good condition: repair and reinstall.
If no
Wear, scale, sand damage or a failed motor: replace, and re-specify before buying.
Where it ends
Repair the external fault
New splice or cable, cleaned intake, new check valve; the pump goes back at its recorded depth and is commissioned like a new one.
Replace the pump
Sized from today's dynamic level, flow and head, not the old nameplate; installed with new cable where needed; commissioned and recorded.
Pulling the pump, only when it is justified
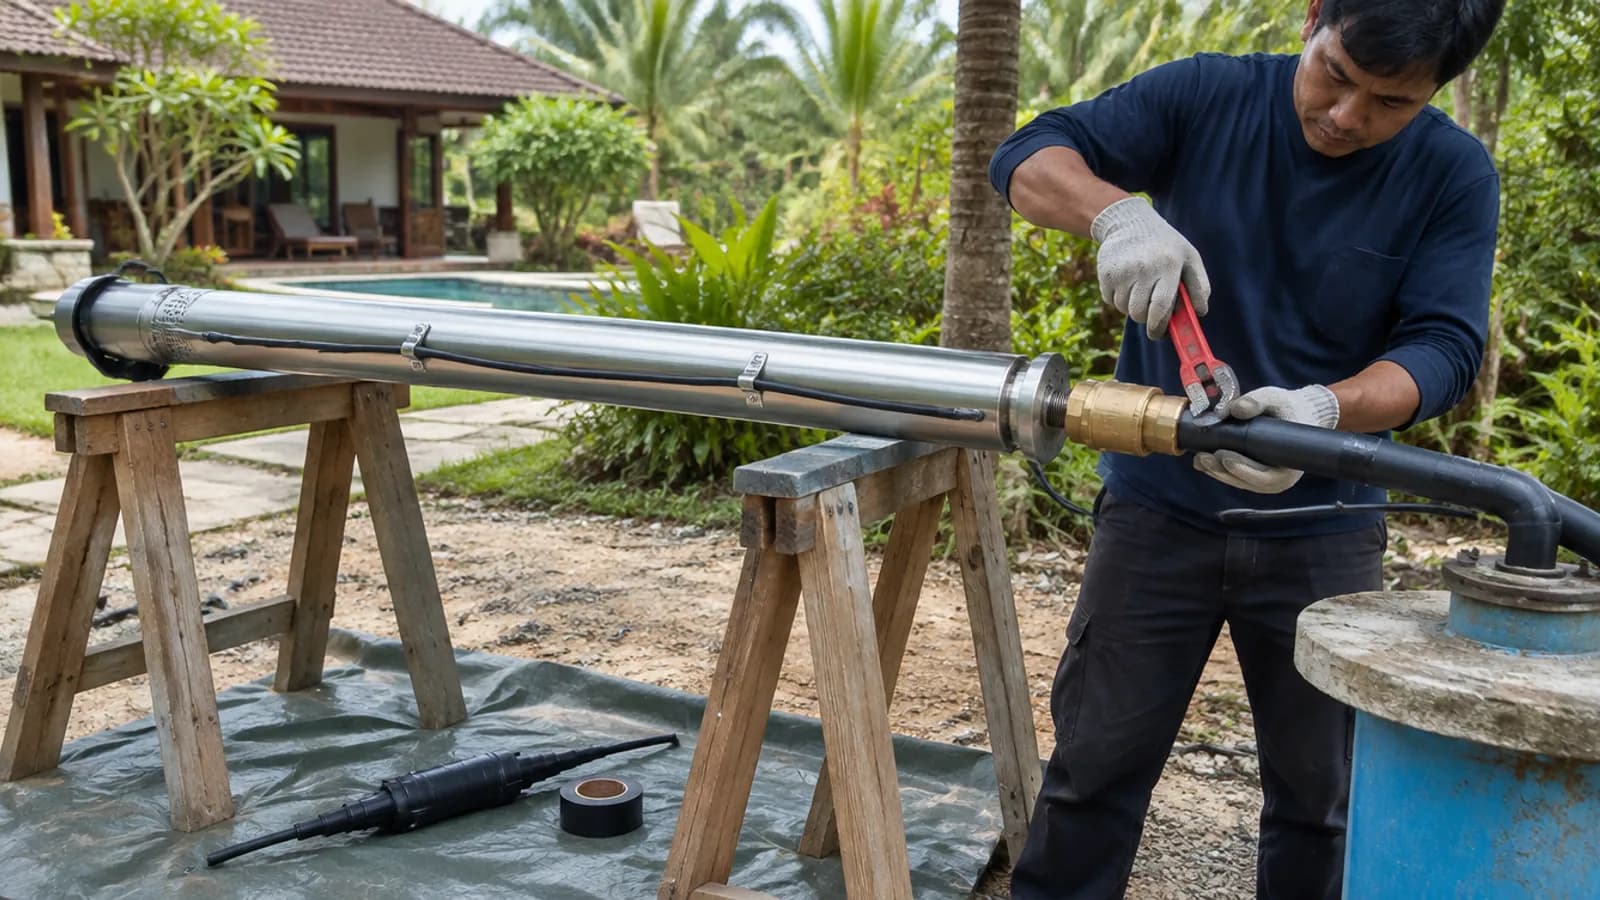
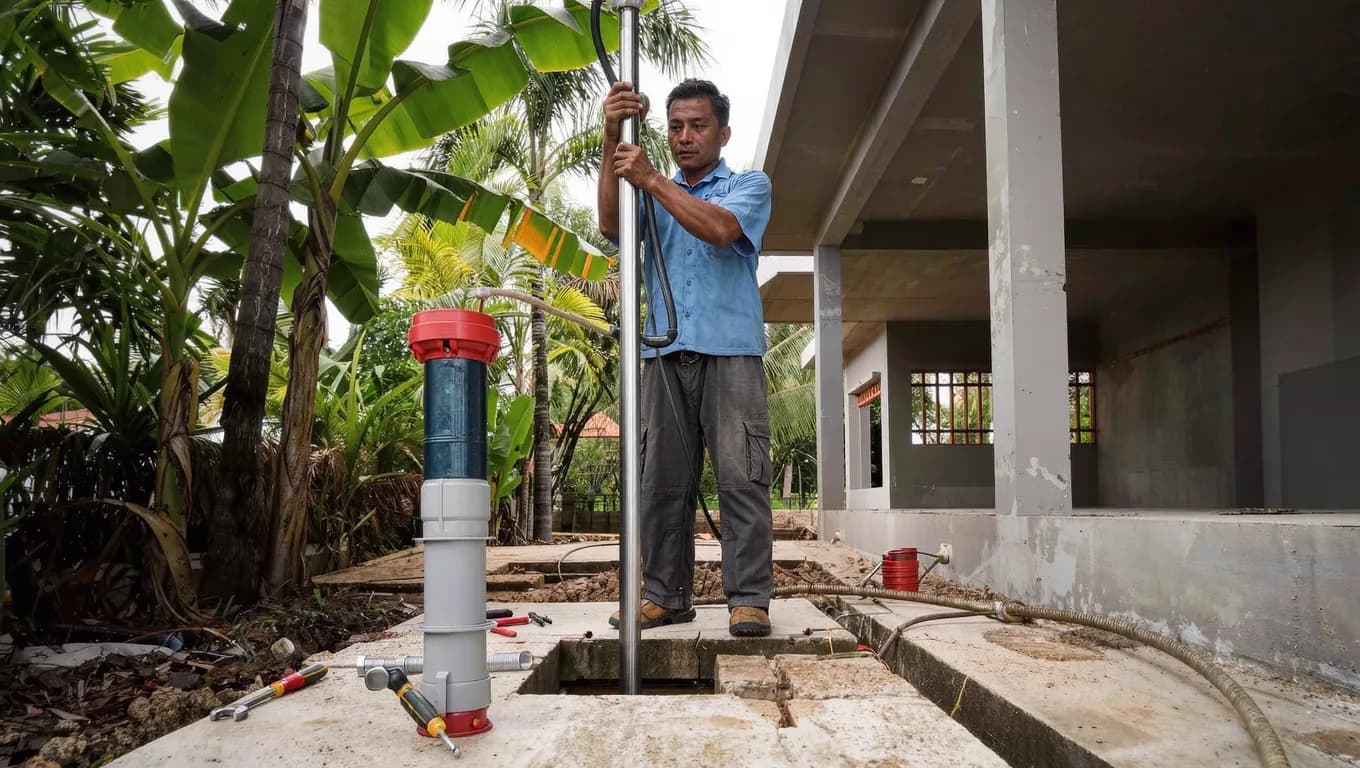
Pulling a submersible is a lifting job. The pump hangs on its riser pipe, with the drop cable taped to the pipe at intervals, and the whole string weighs more than people expect once it is full of water. A tripod and chain hoist or a small rig sits over the wellhead, a pipe clamp takes the load, and the pipe comes up either as a continuous length of HDPE, coiled on the ground as it rises, or as threaded steel or PVC sections unscrewed one at a time. The cable comes up with it and is untaped as it goes, never allowed to take the load, and never allowed to drop back down the bore. HDPE must not be kinked, and a cable that has been down for years is handled as if it is already damaged, because the diagnosis depends on finding where. The casing is kept covered whenever the string is out, for the reasons in our surface contamination guide. Depth is noted from the pipe as it comes up, so the record can be checked against the original installation and the new pump can be set deliberately rather than at whatever depth the old riser happened to reach.
The string comes up as one unit: riser, drop cable and pump. The clamp takes the weight; the cable stays taped to the pipe as it rises and never carries any load.
Inspecting the old unit: repair or replace?
What comes out of the hole explains the failure, and that explanation decides whether the pump goes back. A stuck or leaking check valve, a failed splice, a chafed cable or an intake screen blocked with scale are external faults on a pump that may be perfectly sound; repaired and reinstalled, it has years left. A motor with low insulation resistance and no visible cable damage has failed internally, and rewinding a small submersible motor is rarely worth the cost against a new unit. Worn impellers and a scored pump bowl mean sand has been passing through, which is a well problem, and the next pump will wear the same way unless the sand is dealt with. Heavy iron scale on the body and in the discharge tells you what the water does over time and is worth passing on to whoever designs the treatment. Burnt windings on a pump with a clean history usually point at the supply or at running dry, which is why the controller's event log is read before the pump is condemned.
Old and new, same geometry. The scale on the old unit is years of iron-rich water; the cracked cable is where the insulation test failed. Both facts go into the specification of the replacement.
Why fitting the same model again can be wrong
The easy answer is to order the model on the old nameplate. It is often the wrong answer, for two reasons. The conditions the old pump was sized for have usually changed: the dynamic water level may be lower than it was ten years ago, the villa may have added a pool, a garden system or a second storey, or the tank it fills may have moved. And the old pump may have been wrong from the start; an oversized pump that spent its life short-cycling, or one run on undersized cable, failed early because of the specification, and copying it buys the same failure again. The replacement is sized from today's numbers: the dynamic water level measured during diagnosis, the flow the system actually needs, the total head from that level to the tank plus pipe losses, and the pressure the discharge must arrive with. The method is the one in our guide to choosing a submersible pump; this is the moment to use it, with real measurements instead of estimates. The cable is specified for the new motor's current and the full length to the panel, so that voltage at the motor stays within range on starting, and a new splice kit is used rather than reusing the old joint.
Setting the installation depth
The new pump is set below the lowest dynamic level expected in the dry season, with a margin for a bad year, and above the screen and the bottom of the bore so it does not draw sediment. That is a deliberate choice made from the level measurements, not a matter of using up the riser pipe that came out. On a well that has been drawing down close to the intake, a few metres deeper can be the difference between a pump that trips every April and one that does not; on a well with a shallow screen there may be no room, and the answer is a smaller flow rather than a deeper pump. The chosen depth goes into the record before the pump goes down.
Commissioning: current, flow and pressure
Before the string is lowered, the new splice is tested for insulation resistance, because a splice that fails is a second pull. The pump is lowered on its riser with the cable taped at intervals, set to the recorded depth, and the wellhead closed. It is then started against a partly closed valve and opened up gradually while the technician watches three numbers: the running current on each lead against the nameplate, the flow at the discharge, and the pressure at the wellhead. Those three together confirm the pump is doing the duty it was sized for and not running off the end of its curve. The water level is watched for an hour or two of pumping to confirm the drawdown stays clear of the intake, the dry-run device and the pressure switch are set, the check valve is confirmed holding, and the discharge is run until it clears. Finally the record is written: pump model and serial, cable size and length, installation depth, measured current, flow, pressure and water levels, and the date. That page, kept with the well's documents, is what makes the next maintenance visit, and the next replacement in ten years, a measured job instead of a guess.
If your pump has stopped, or keeps stopping, our pump installation team diagnoses before it pulls, re-specifies before it buys, and leaves you a written record of what went down the hole and why.
Common questions
How long does replacing a submersible pump take?
Diagnosis above ground is usually an hour or two. Pulling, inspecting, installing and commissioning a replacement in a typical villa bore is normally a day's work with a rig, longer if the string is stuck, the cable has to be replaced to the panel, or the well needs cleaning while it is open.
Can I just buy the same pump model again?
Only if the water level, the demand and the system are the same as when it was first sized, and the old pump did not fail early because it was wrong for the well. Usually at least one of those has changed, so the replacement is re-specified from measured dynamic level, flow and head.
The pump trips on dry-run protection. Does that mean it has failed?
More often it means the water level is reaching the intake, because of the season, overpumping or a pump set too shallow. Measuring the pumping level answers it. A new pump at the same depth and flow would trip in the same way, so the well, the flow or the depth is addressed first.
What decides the cost of a replacement?
The depth and weight of the string, whether the riser and cable can be reused or must be replaced, the pump size the well actually needs, access for the rig, and whether the well needs cleaning or a new check valve while it is open. A diagnosis first keeps you from paying for a pull that was not needed.