What happens during a deep-well drilling project on Koh Samui, from arrival to handover
A drilling project is loud for a few days, wet in places, uncertain at one or two moments and quiet for the rest. This guide follows the work in the order it happens, from the owner's side: what you will see, what it means, and when you will be asked to decide something.
July 12, 2026 · 9 min read
Most owners watch a well being drilled once in their lives, so it is easy to read normal things as problems: the rig standing still for half an hour, grey water running across the plot, a crew that cannot say on the second day how deep the well will end up. This guide walks through a project in the order it happens and explains what each stage looks and sounds like. Getting the plot ready beforehand, meaning access, space and the drilling spot, is a separate subject, covered in our guide to preparing for well drilling.
Project at a glance
Eight stages, and what each one is like for the property
Darker squares mean more of it. The amber band is the time the rig is on your plot; the rest happens in quieter visits.
1
Arrival
Rig, support vehicle and crew arrive, and the drilling spot is confirmed on the ground.
2
Set-up
The rig is levelled, the settling pit dug, rods and hoses laid out, nearby surfaces protected.
3
Drilling
Rods are added one at a time as the bore goes down; cuttings and water come up continuously.
4
Casing
Lining pipe goes into the bore, with screen where the water enters, and the top is sealed.
5
Development
The bore is flushed until the water clears, and the first flow is observed.
6
Pump
The submersible pump is lowered on its pipe and cable, and the control box is wired.
7
Test
The system is run, flushed and checked: current, pressure, settings, the tank filling.
8
Handover
You are shown how it works and given the record of what was built.
9
Noise
Compressor and drilling noise in working hours, highest while the bore is advancing.
10
Water and mud
Grey slurry at the wellhead and in the pit, worst during drilling and development.
11
Still uncertain
What nobody can confirm yet: mainly the depth while drilling and the yield while developing.
12
Rig on site
Stages 1 to 5. The heavy equipment, the noise and the mess all fall in this window.
13
After the rig
Stages 6 to 8: a smaller crew, little noise, and a working supply at the end.
Conceptual, not measured. How long each stage takes depends on depth, rock, access and weather; your quotation should set out the expected sequence.
Day one: arrival and set-up
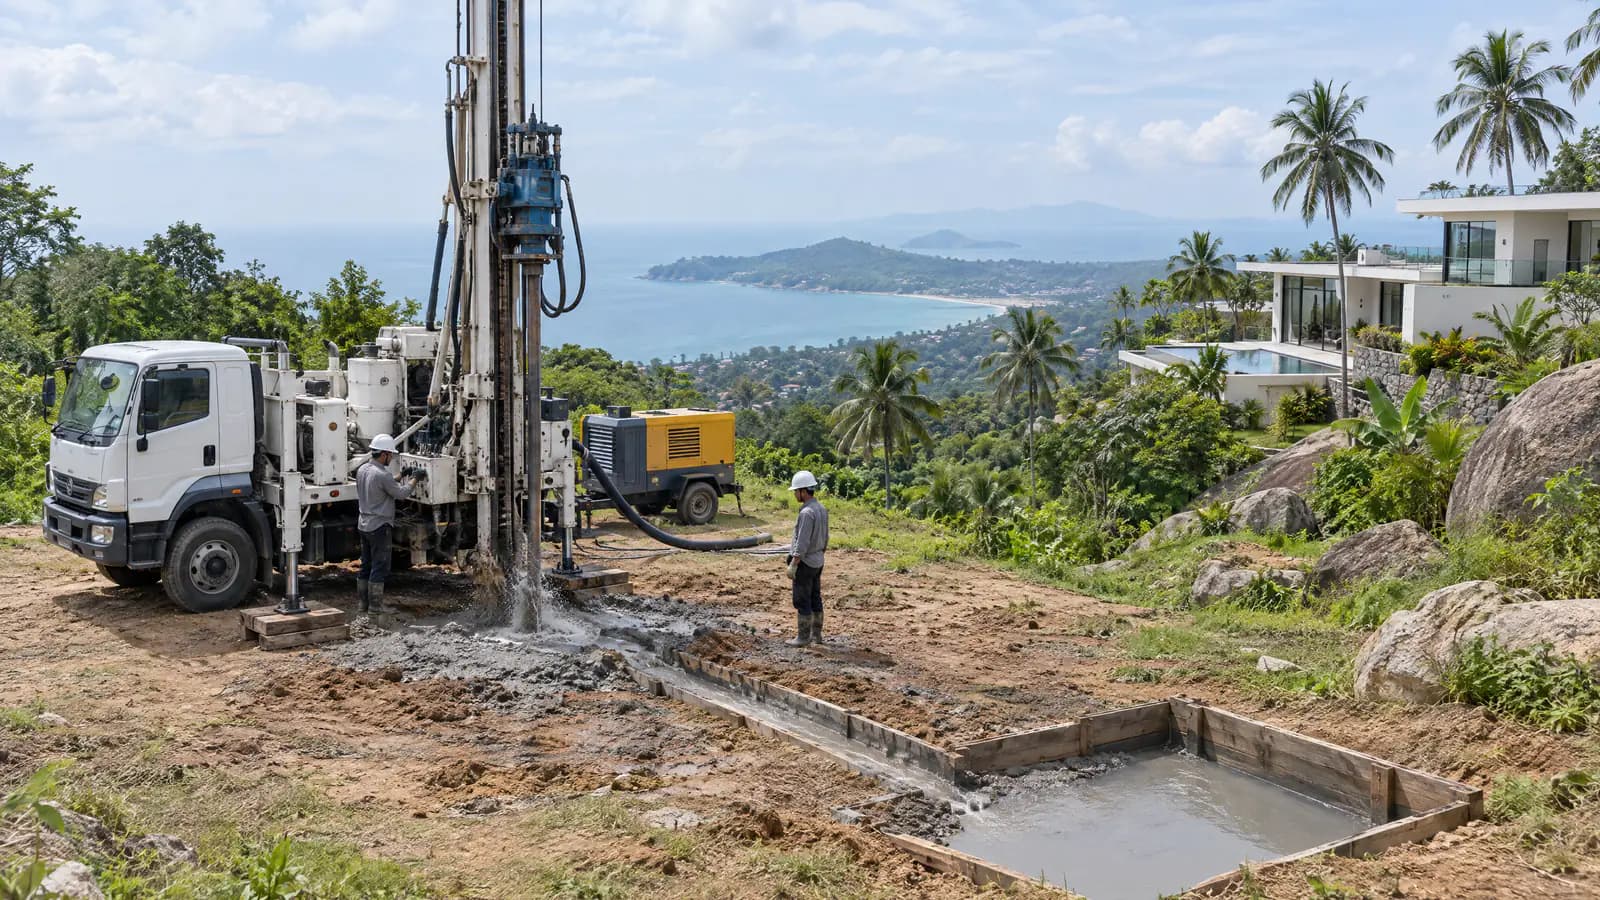
The rig usually arrives with a support vehicle carrying rods, casing and tools, and on most jobs on the island an air compressor as well. The first hour goes on the ground rather than drilling. The crew checks the spot agreed at the survey, confirms nothing is buried beneath it, and positions the rig over it. Small adjustments are normal: the mast has to stand clear of cables and branches, and the bore should sit where a pump can be lifted out of it in years to come.
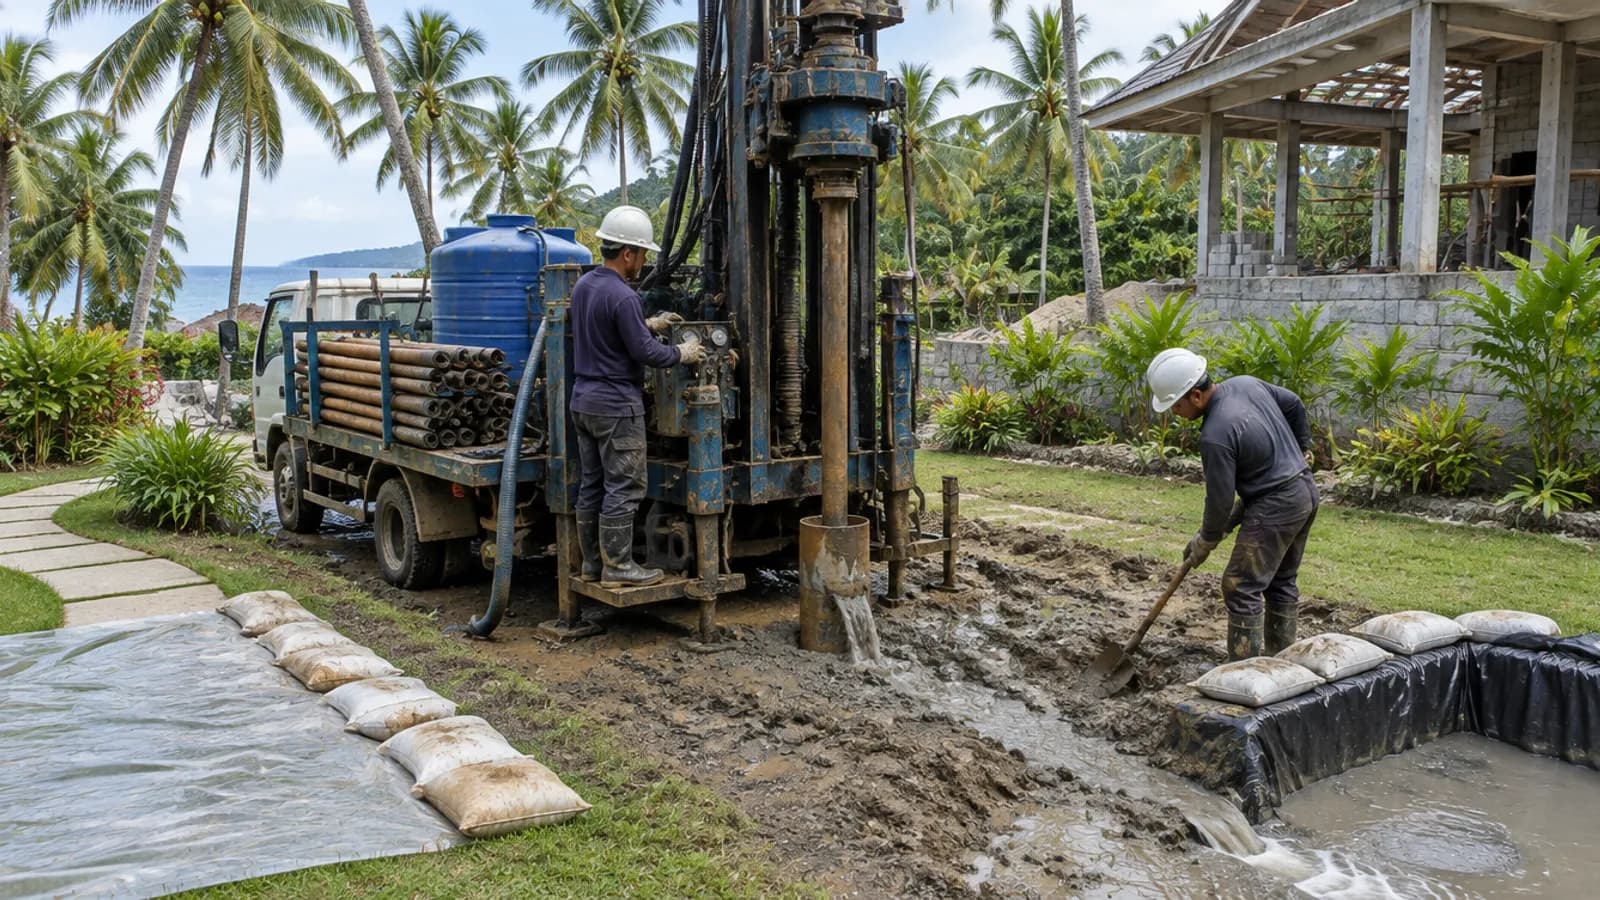
The rig is then levelled on its jacks. This takes longer than people expect and it matters, because a bore that starts out of plumb is harder to case and to fit a pump into. A settling pit is dug or a portable tank set down, a channel is cut to lead water into it, and boards, sheeting or sandbags go where slurry could reach paths, lawn or walls. Everything laid out on the first day is temporary and leaves with the crew.
Drilling days: what you are watching
Rods going down, one length at a time
The bore advances in steps of one drill rod. When a rod has gone in, drilling pauses, the next one is screwed on and drilling resumes. Those pauses are part of the work, not breakdowns. Counting rods is the simplest way to follow progress, since each one adds a known length. There are other stops too: to blow the hole clean, to look at what is coming up, or to change the bit when the ground changes.
What comes up tells the crew where they are
Cuttings flow out of the top of the bore with the air and water. Near the surface they are usually brown or reddish soil and clay; deeper comes weathered rock that crumbles between the fingers; then grey or speckled chips of hard granite that look and sound different. The crew notes the depth of each change, because it decides where casing has to go and where water is likely to enter. If you are curious, ask to see a handful from different depths.
When water appears
Water starting to come out with the cuttings, or a sudden increase in it, usually means the bore has crossed a water-bearing fracture. The crew may stop and blow the hole for a while to judge how much is coming in. This is one of the moments you may get a phone call: whether to stop here, or to keep going for more. The reasoning behind that choice is in our guide to how deep a well needs to be.
Noise and slurry, honestly
With compressed-air drilling in hard rock, the compressor and the hammer are loud through the working day, and the slurry is grey, fine and gets onto anything near the wellhead. Both stop when the crew stops for the day, and both are at their worst in this stage. If neighbours live close by, these are the days to warn them about.
Casing: the part you will never see again
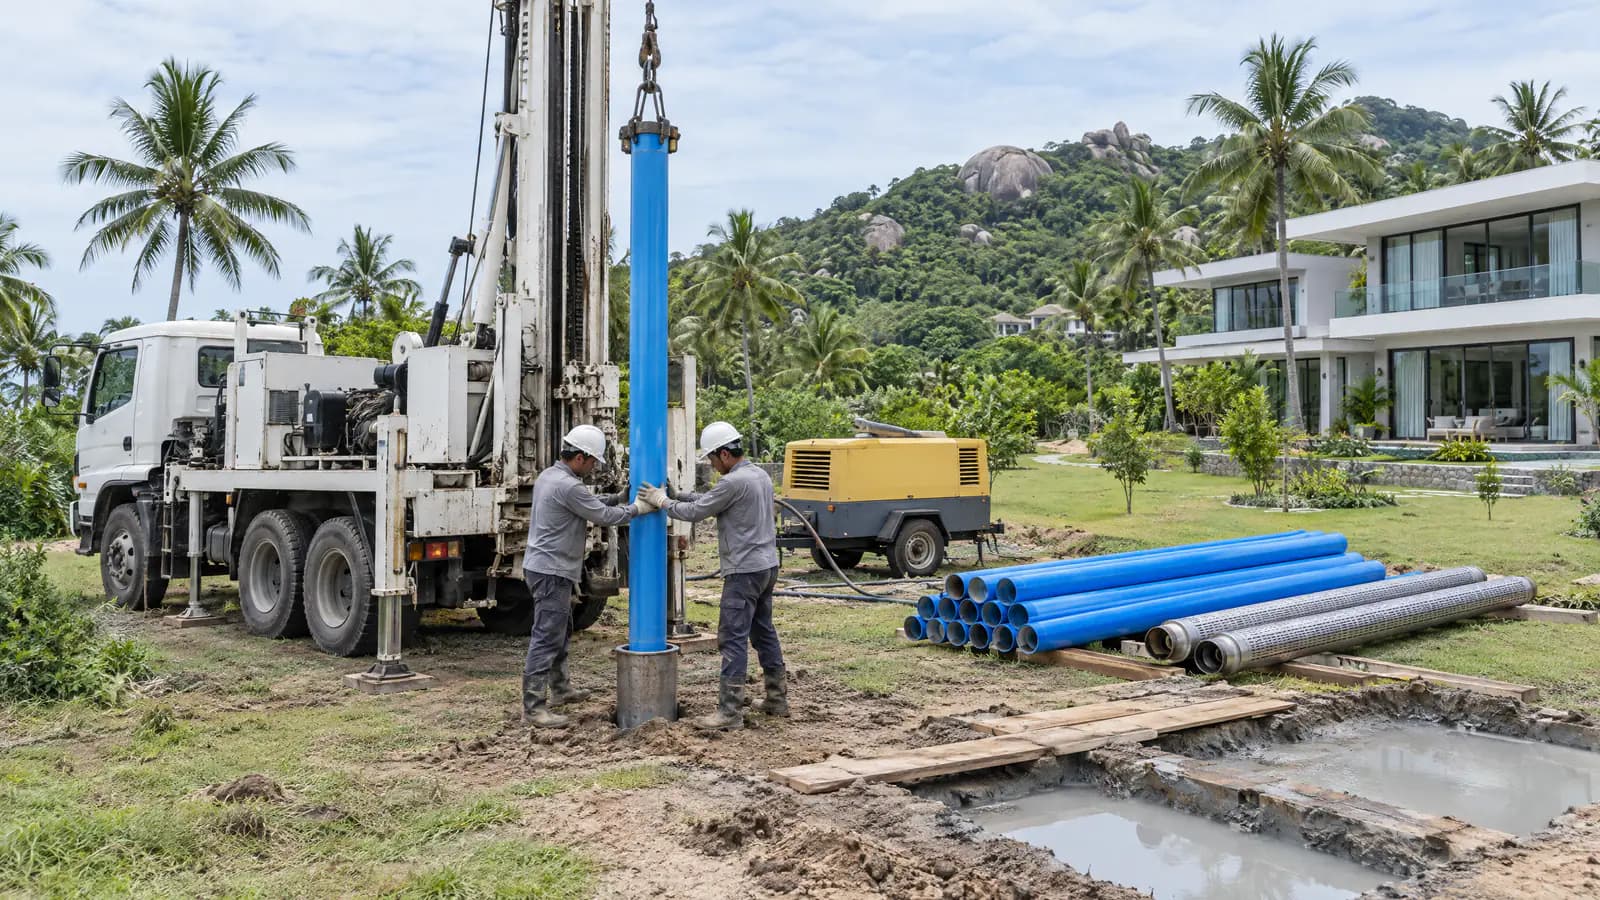
Once the bore is deep enough, lining pipe is lowered into it: solid casing through the soft upper ground, and slotted screen where water enters, depending on how the well is designed. Lengths are joined one by one at the wellhead, so this stage looks like drilling in reverse. The top is then sealed so surface water cannot run down the outside. None of it is visible once the pump is in, which is why it is worth asking what went in and at which depths. Our guide to what is inside a finished well explains each part.
Development: the wettest stage, and a first look at yield
A new bore is full of fine rock dust and drilling mud. Development cleans it: air or a temporary pump pushes water out of the bore until it runs clear. That produces a lot of water, cloudy at first and clearing gradually, and all of it has to go somewhere, which is why drainage was settled at set-up.
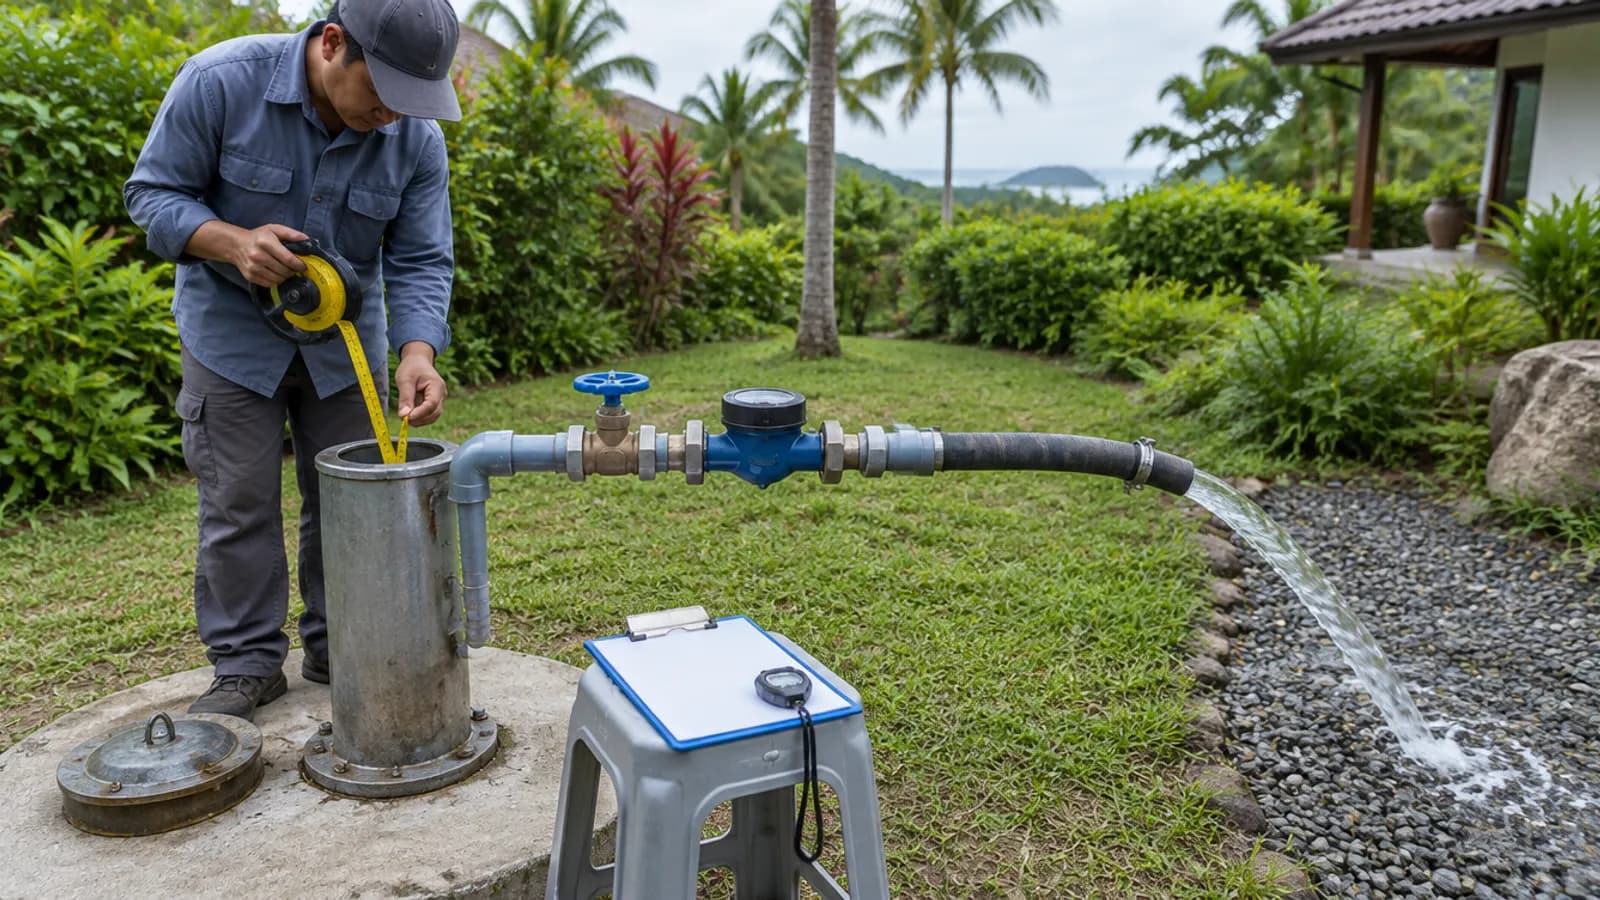
While the bore is being flushed, the crew gets a first impression of how much water it gives. Treat that impression as preliminary. A dependable figure comes from pumping at a steady rate while watching how far the water level falls and how quickly it comes back, which our guide to how well yield is measured explains.
After the rig leaves: pump, power and commissioning
With the rig gone, the site goes quiet. A smaller crew comes back to lower the submersible pump on its riser pipe and cable, at a depth chosen from the test results (see choosing a submersible pump). The control box goes in with its protection, the power supply is connected by a qualified electrician, and the line to the storage tank is joined up.
Commissioning is the last technical step. The pump runs until the water is clear, its running current is measured against the motor's rating, the controls and protection are checked, and the tank is filled through full cycles. A water sample may be taken for the laboratory at this point; whether any treatment is needed is decided from those results, as our guide to testing well water explains.
Clean-up and what stays behind
The settling pit is emptied or backfilled, the cuttings are spread, levelled or taken away as agreed, and the protective boards and sheeting come up. Expect some marks on the lawn and paths where the rig stood and the slurry ran; how far the crew restores them should be written into the quote. What remains is a sealed wellhead on a small concrete pad, a riser with its valves, a buried line to the tank and a control box.
Before the crew leaves: what you should be shown
Where the wellhead is, and why it must stay reachable from above.
How to switch the pump off safely at its isolator, and what the lights on the control box mean.
Which valve separates the well from the tank, and where the line can be drained.
What normal looks like: roughly how often the pump fills the tank and for how long it runs.
Who to call if something changes, and what to tell them.
Ask for the record as well: drilled depth, casing and screen depths, where water was struck, the test results, and the pump's model and setting depth. A page of facts now saves guesswork at every repair later.
Noisy, wet, uncertain, temporary: a quick key
What it is like
When
What it means for you
Noisy
Drilling; less so casing and development
Working hours only. Pump installation and commissioning are quiet.
Wet and messy
Drilling and development
Slurry stays around the wellhead, channel and pit if drainage was planned.
Uncertain
Depth while drilling; yield until the test
Expect a call when water is found, and a decision on whether to go on.
Temporary
Set-up to clean-up
The pit, channel, boards, rod stack and compressor all leave.
Expected
Throughout
Pauses between rods, grey water, and a depth that differs from the first estimate.
What to arrange beforehand, such as vehicle access, the work area, drainage, a word with the neighbours and any days when part of the plot is closed off, is covered in preparing for well drilling. How the same choices affect the price is explained in what changes the cost of a well.
Thinking about a well? Send our drilling team the plot's location and roughly when you would like the work done, and we will explain how the stages would run on your site, including where the rig, the pit and the water would go.
Common questions
Why does the rig stop for long periods during drilling?
Each drill rod has to be added by hand, the hole is blown clean from time to time, the cuttings are checked when the ground changes, and the bit is sometimes changed. When water is found the crew may also pause to judge the flow or to wait for your decision.
When do you know whether the bore produces enough water?
You get a first impression while the bore is being drilled and flushed, but the dependable answer comes from a pumping test after development, when the rate, the fall in water level and its recovery are measured.
What is left on the property after the project?
A sealed wellhead on a small concrete pad, a riser with valves, a buried pipe to the storage tank and a control box for the pump. The pit, boards and equipment are removed, and the restoration of lawns and paths should be agreed in the quote.