Preparing for well drilling on Koh Samui: access, space and the days on site
The drilling is the crew's job. Getting the rig to the right spot, keeping the garden and the neighbours on side, and knowing which decisions will come to you during the work all go better when the owner knows what's coming.
October 1, 2026 · 10 min read
Once you've decided a private well makes sense, the questions become practical. Where on the plot will it go? Can the rig get in? How loud and messy will it be, for how long, and what do you need to do before the crew arrives? This guide covers the preparation: the plot, the route, the space and the decisions that will come to you. What happens day by day once the work starts is followed in what happens during a drilling project.
Step by step
Your property during a deep-well project
Eight stages from the first visit to a working supply. The rig is only on site for the middle part.
1Site inspection
2Rig access
3Drilling
4Casing
5Development
6Pump
7Water test
8Commissioning
1
Before the rig
Site inspection
We walk the route in, look at candidate drilling spots, overhead cables, slope, ground conditions and where the tank and power will be.
Your partBe there, or have someone who knows where pipes, cables and the septic tank are buried.
2
Rig access and set-up
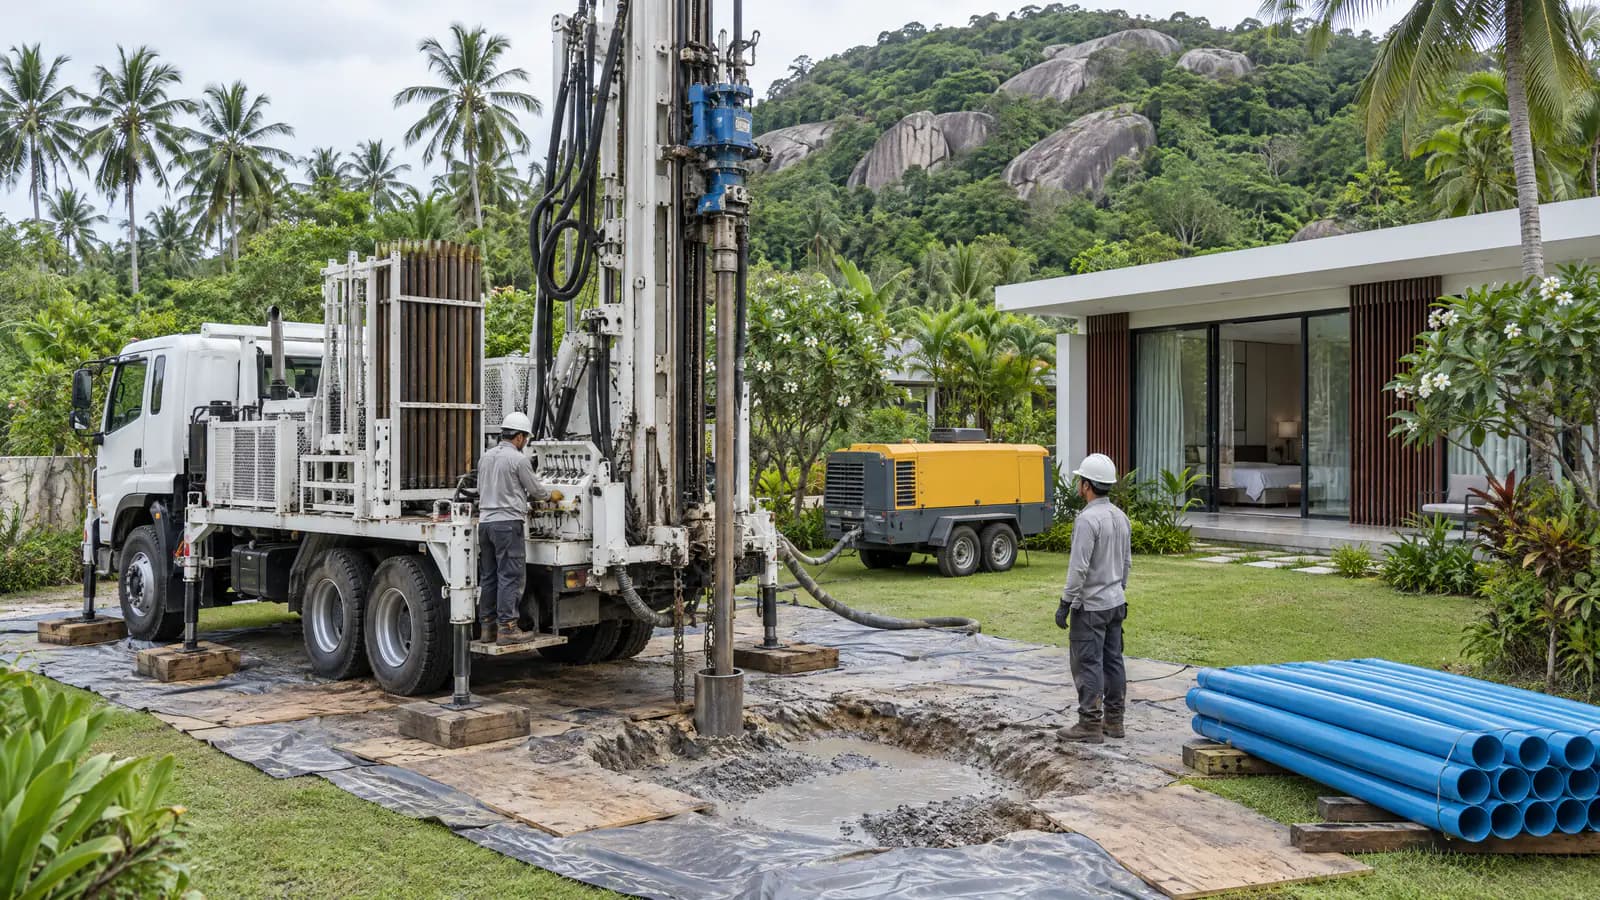
The rig is driven to the agreed spot, levelled on its outriggers, and the compressor, settling pit and pipe stack are laid out.
Your partClear the route: cars, pots, furniture, low branches. Unlock gates.
3
Drilling days
Drilling
The bore advances through soil, weathered rock and granite. The crew logs the cuttings and watches for water-bearing fractures.
Your partExpect noise through the working day, and keep someone with authority reachable by phone.
4
Casing and sealing
Casing lines the bore, a screened section sits at the water zones, and the top is sealed against surface water.
Your partNothing to do. This is the part of the well you will never see again, so ask what was installed.
5
Bore development and yield test
The bore is cleaned until the water runs clear, then pumped steadily to measure yield and drawdown.
Your partMuddy water goes to the pit and drains. Ask for the yield and drawdown figures in writing.
6
After the rig leaves
Pump installation
A submersible pump sized to the test figures is lowered on riser pipe and cable, and the control box and protection are wired.
Your partAn electrician-ready supply at the agreed point, and space for the control box.
7
Flushing and water test
The system is flushed, then raw water is sampled for laboratory analysis to decide whether any treatment is needed.
Your partDecide what the water is for: washing only, or drinking too.
8
Commissioning and handover
The pump is run through full cycles into the tank and pressure system, the settings are checked and the figures are recorded.
Your partWalk round the system with the crew and keep the handover documents.
Durations depend on depth, rock and access. Drilling itself typically takes several days; your quotation should set out the full timeline.
The site visit: what we look at on your plot
Before anything is booked, someone walks the property. The visit has two jobs: choosing where the well can go, and checking that the rig can get there. It covers the route from the public road (width, turns, gradient, gate, overhead cables, branches), possible drilling spots, the slope and how firm the ground is, where buried services run, where the septic tank and soakaway are, and where the storage tank, pump room and electrical supply will be. It is also when the expected depth range for your plot is discussed, along with what that means for the quotation.
Choosing where the well goes
The best spot is a compromise between geology, hygiene, access and the next twenty years of use. The things that decide it:
Distance from contamination. Keep well away from septic tanks, soakaways, drains and low points where rainwater collects. Higher and further is better; the survey sets a sensible distance for your plot.
Clear sky above. The mast is raised vertically, so overhead cables, roof edges and large branches rule a spot out.
Room around the wellhead for the rig, the settling pit and the pipe stack during drilling.
Room above it for later. Pumps are pulled straight up out of the well for service, so never build a roof, deck or pump-house ceiling directly over the casing without a hatch.
A short, sensible run to the tank and the power supply. Every metre of trench and cable is cost.
Not under a future driveway, pool deck or extension. A wellhead buried under paving is a wellhead nobody can service.
Rig access: what has to fit
A drilling rig is a heavy truck, usually followed by a towed compressor and sometimes a support vehicle. The route needs enough width at its narrowest point, room for the turns, height clearance under cables and gate beams with the mast folded down, and ground that will carry the weight. That last one is the one owners forget. Septic tanks, drainage pits and inspection chambers under a lawn or a thin driveway can't take a loaded rig. Soft ground after rain is a problem too.
We don't give a universal minimum size, because rigs differ. The survey measures the gate, the narrowest point and the overhead clearance against the rig that would actually be used. If it doesn't fit, the options are a smaller rig, temporary removal of a gate or a section of fence, ground plates, or a different drilling spot. All of these are much cheaper to plan than to discover on the morning.
How much space the work needs
Plan for the rig's footprint with its outriggers extended, the compressor parked within hose reach, a settling pit for the water and cuttings, a stack of casing and drill rod, and a working margin all round for the crew to move safely. On a tight plot the layout is drawn on the ground during the survey, so everyone knows where the pit will be dug and what will be walked over.
Before the rig arrives: owner checklist
Mark or share drawings of buried water pipes, electrical cables, irrigation lines and the septic system.
Clear the route and the working area: cars, plant pots, garden furniture, low branches.
Agree where the muddy water will drain and where cuttings will go: spread, levelled or removed.
Cover or protect what's near the working area: the pool, light-coloured walls, parked cars, outdoor cushions.
Tell the neighbours which days are drilling days. It costs nothing and saves a lot of goodwill.
Arrange gate keys, and secure pets away from the working area.
Confirm who will make decisions on site, or by phone, if the crew needs an answer during the work.
Ask your electrician to plan the supply for the pump and control box, if it isn't in the quote.
What the drilling days look like
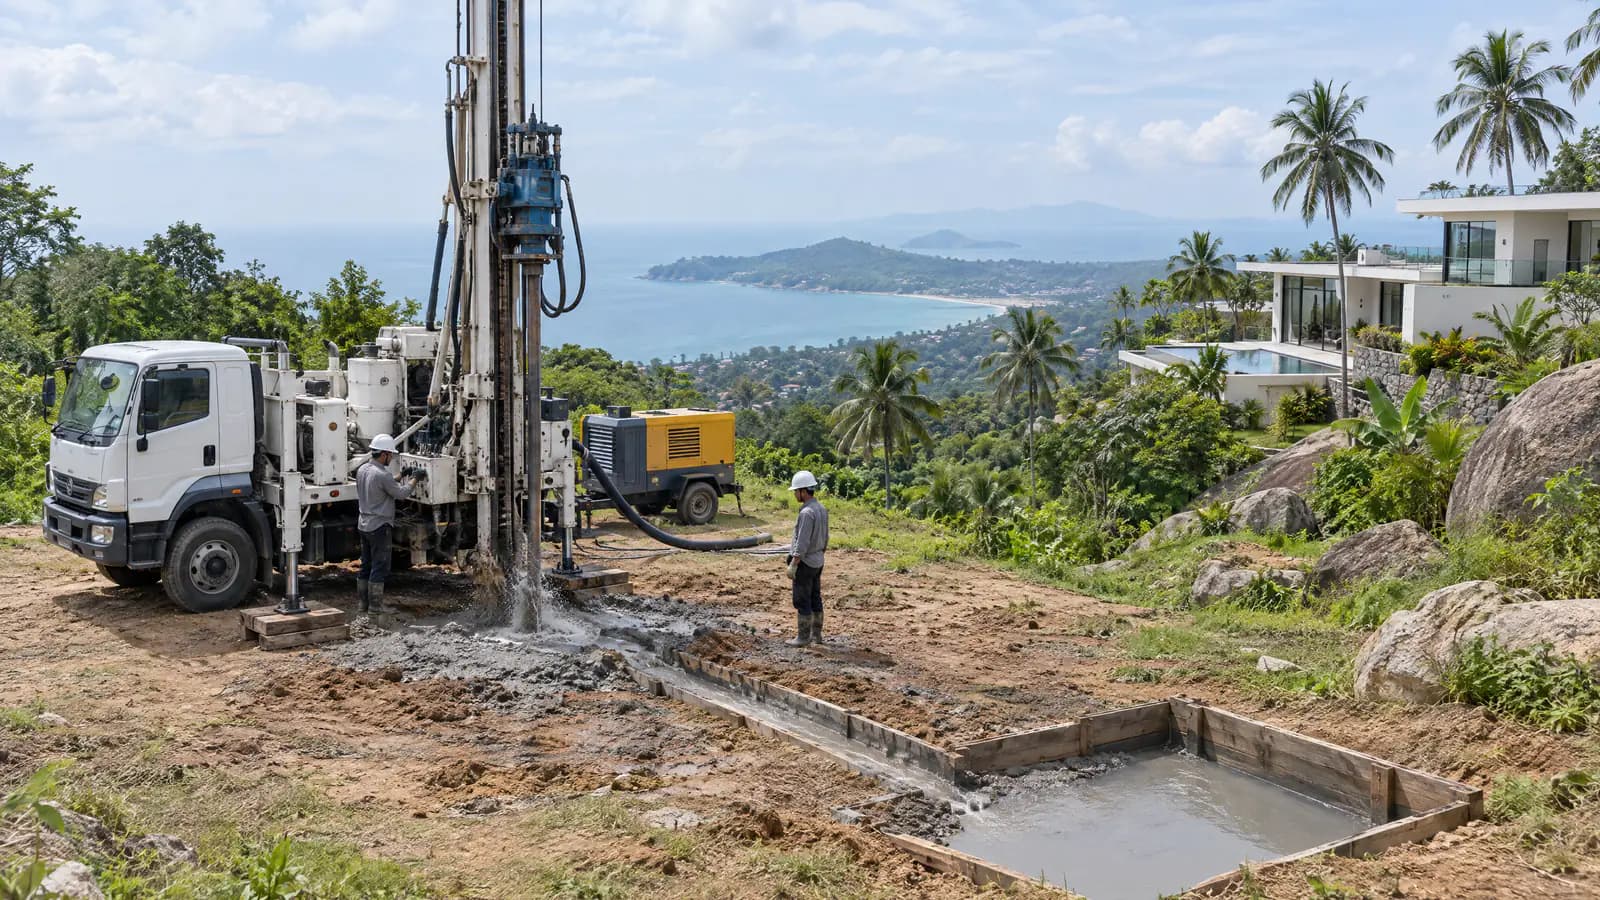
Noise is the first thing neighbours notice. Through Samui's granite, wells are usually drilled with compressed air, and the compressor and the hammer at the bottom of the bore are loud through the working day. Crews work daylight hours. Quiet periods while rod is added or the crew checks the cuttings come and go.
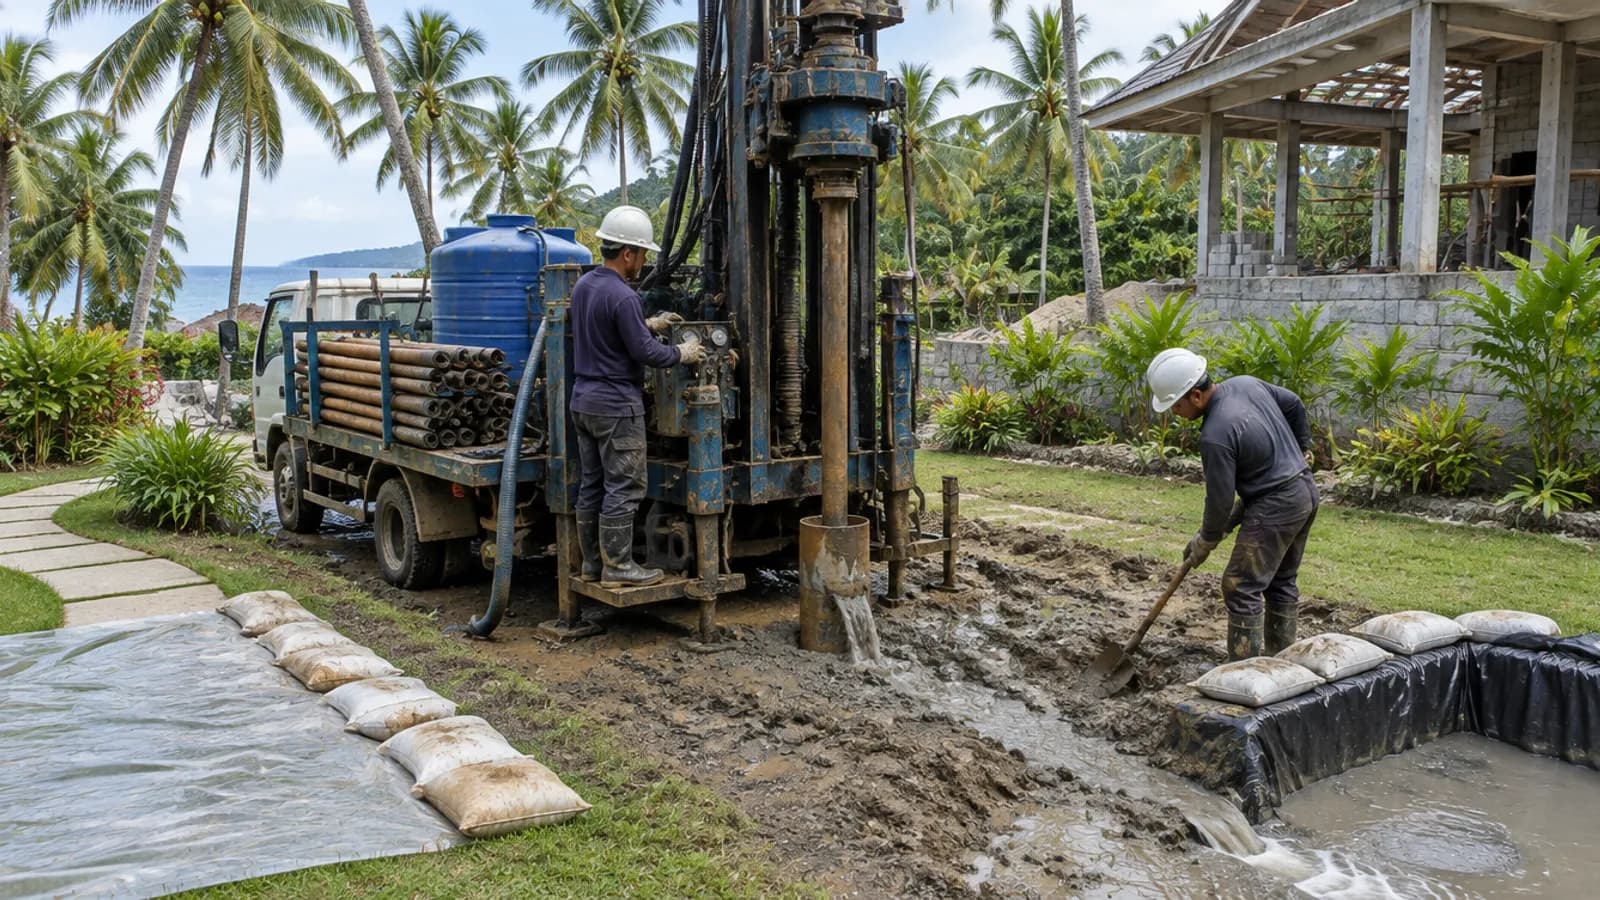
Water and mud are the second thing. The air brings water and crushed rock back up the bore, and it comes out at the top as a grey slurry that is channelled into the settling pit. Around the collar it splashes, and in wind a fine spray can carry a few metres, which is why nearby walls and cars get covered. Expect boot prints on paths, wheel marks on the lawn and a pit to be backfilled. Ask what restoration is included: levelling, backfilling and removing cuttings should be agreed rather than assumed.
A typical drilling day: the rig turning the drill string, grey water and cuttings flowing into the settling pit, the crew watching what comes up.
Why depth can't be promised in advance
Water under Samui sits in fractures and weathered zones in the granite, not in an underground lake, and those fractures change over short distances. A survey gives an expected range (our guide to well depths on the island explains what decides it), but the actual depth is found by drilling. The crew reads the cuttings and the water returning with the air as they go, and each water-bearing fracture they pass is a data point.
If water isn't where it was expected
Sometimes the expected depth arrives and the flow is weak. This is the moment the owner gets a phone call, and it helps to know the options in advance. The crew can keep drilling deeper within the limit agreed in the quote, looking for the next fracture. They can stop and test what has been found, if a modest yield covers the property's real demand: a household with mains backup needs far less than a villa irrigating a large garden. Or, less often, they can try a second spot. What each option costs should already be written into the quotation. That is why the question about dry and low-yield wells is on our list of what to compare between drilling quotes.
After the rig leaves: pump, connection and commissioning
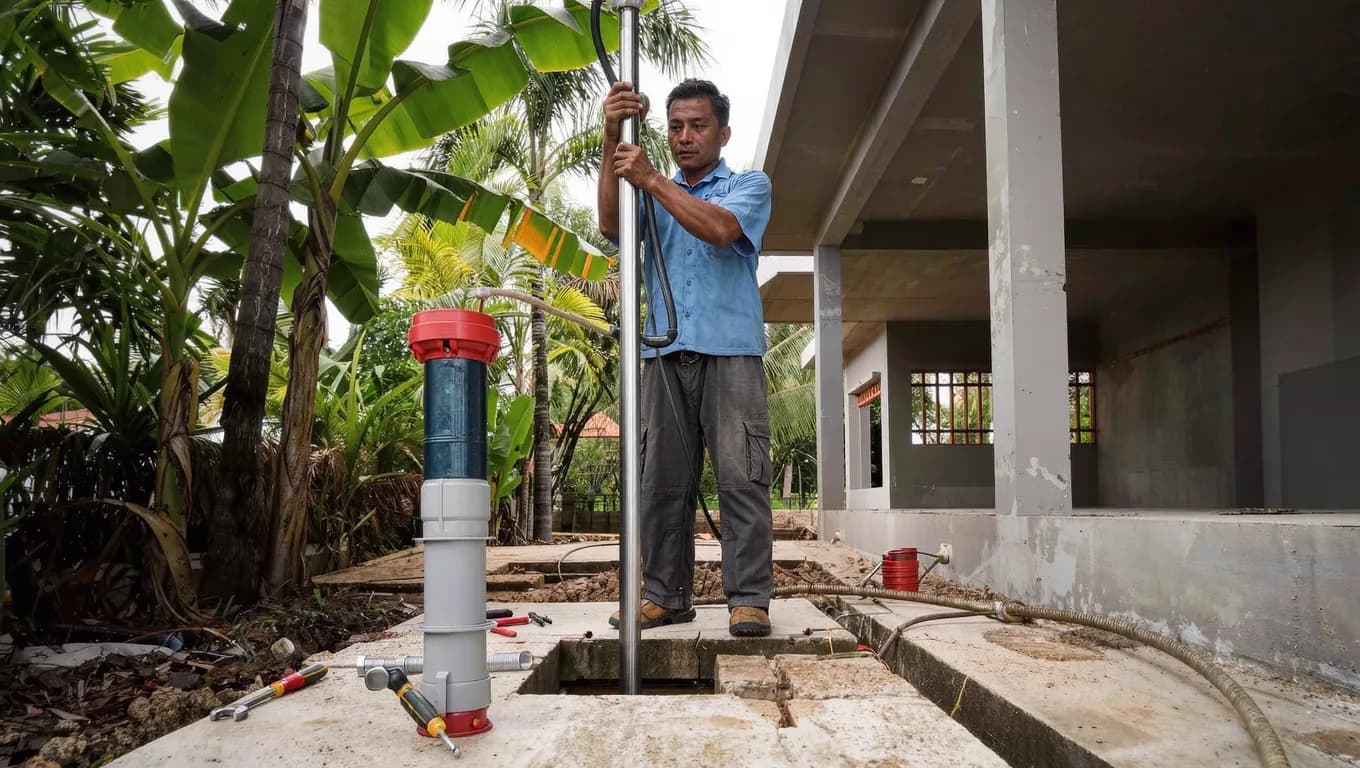
When drilling finishes, the bore is capped and sealed and the rig departs. The rest is quieter work. The pump is sized from the test figures (see choosing a submersible pump) and lowered on riser pipe with its drop cable and a safety rope. The control box goes in with dry-run and surge protection, and the line is run to the storage tank or the pressure system that feeds the house. The system is flushed until it runs clean, a sample goes for laboratory water testing, and the pump is commissioned: run through full cycles, with pressure settings checked and figures recorded.
What stays on your property: a sealed wellhead on a concrete pad, the riser with its valves and gauge, and the control box. Keep it accessible, never paved over.
Keep the wellhead clear: no soil heaped against the casing, no plants over the pad, nothing stored on the cap.
Learn what normal sounds like: how often the pump starts, the pressure at a shower. Changes later are your early warning.
Keep the handover pack (depth, casing, pump model and setting depth, yield and drawdown, water test). It is what any future technician needs, and what a buyer will ask for. Our guide to borehole maintenance explains why.
Planning a well for a villa or development in Koh Samui? Contact us to talk through site access and what the property needs. A survey visit answers most of this checklist on the spot, and it is the first step of every deep well drilling project we take on.
Common questions
Is it better to drill during construction or after?
During construction is usually easier: access is open, landscaping hasn't started and the trench to the tank can share work with other services. The well is then capped until the pump is installed. Coordinate with the builder so the wellhead isn't buried or built over.
Will drilling damage my garden?
The working area will be muddy and the route will show wheel marks, and the settling pit has to be dug and backfilled. Planning the route, laying boards and protecting nearby surfaces keeps it limited to that area. Agree the restoration in advance.
Do I need to be there during drilling?
Not all the time, but someone who can make decisions should be reachable by phone, especially when the expected depth is reached. Being there for the arrival and set-up on the first morning is worth it.
How long is the rig on my property?
Drilling typically takes several days, depending on depth, rock and access. Pump installation, testing and commissioning follow after the rig has left. Your quotation should set out the full timeline.